
Are you confused about normal photograph sizes? Do you battle to find out what typical photograph sizes are utilized by printing firms or (much more complicated!) social media?
Sadly, there are an entire lot of
completely different photograph sizes, and so they’re not all the time simple to know.
Happily, we’ve acquired you lined.
As a result of this text tells you the whole lot you
have to find out about normal photograph sizes, and the way you must apply them to your
personal images.
Let’s get began.
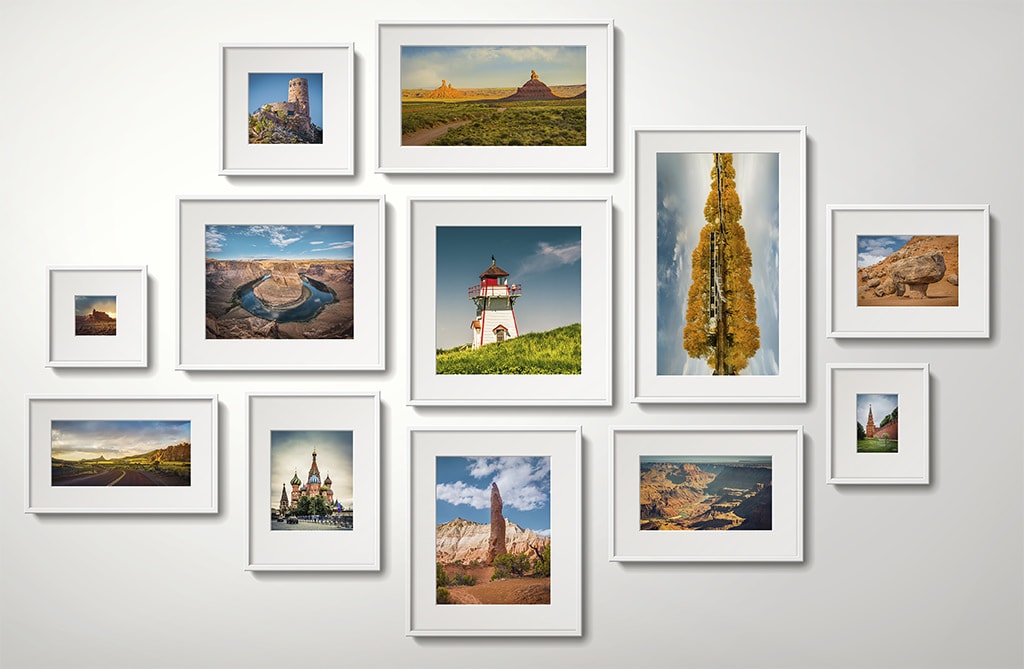
Two Completely different Normal Photograph Sizes
for Printing
Right here’s the very first thing you must find out about
normal photograph sizes:
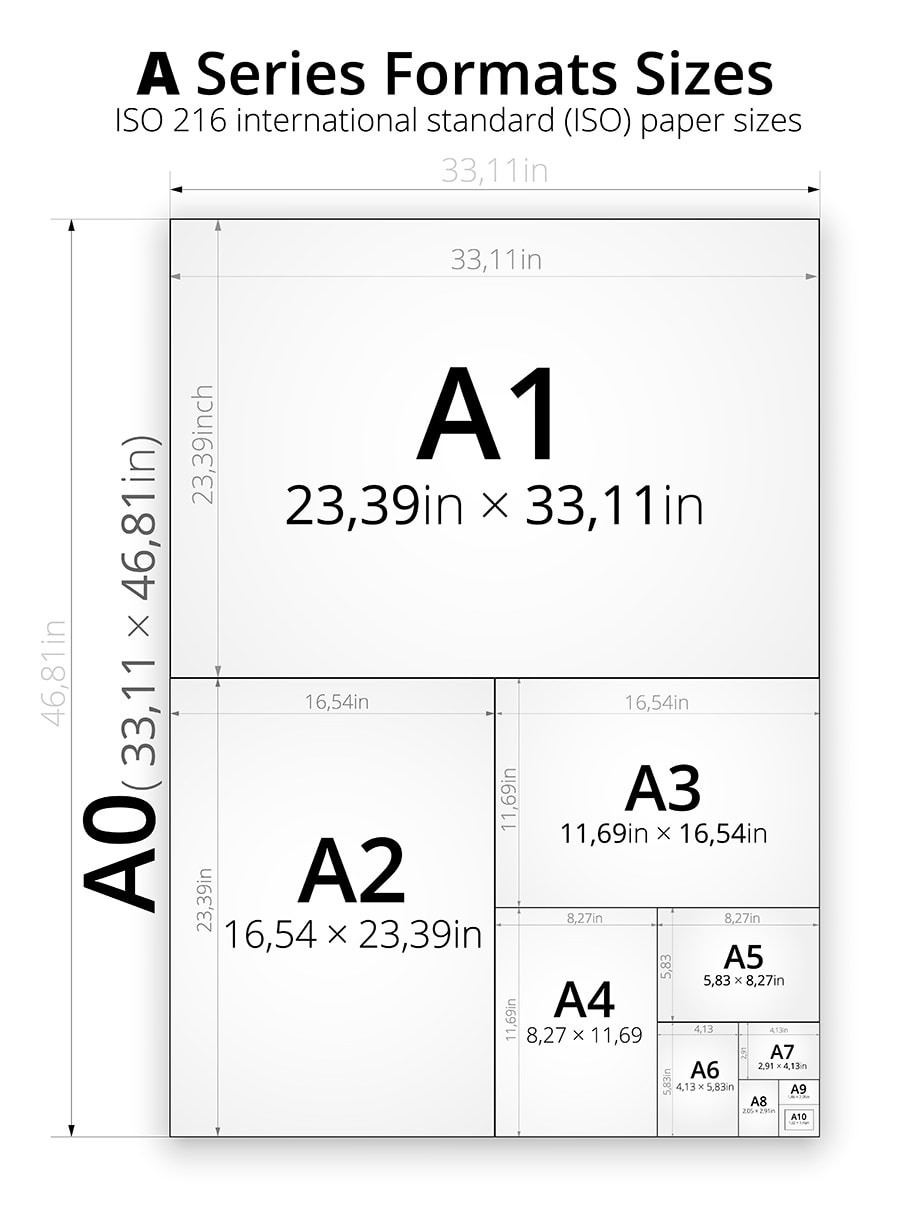
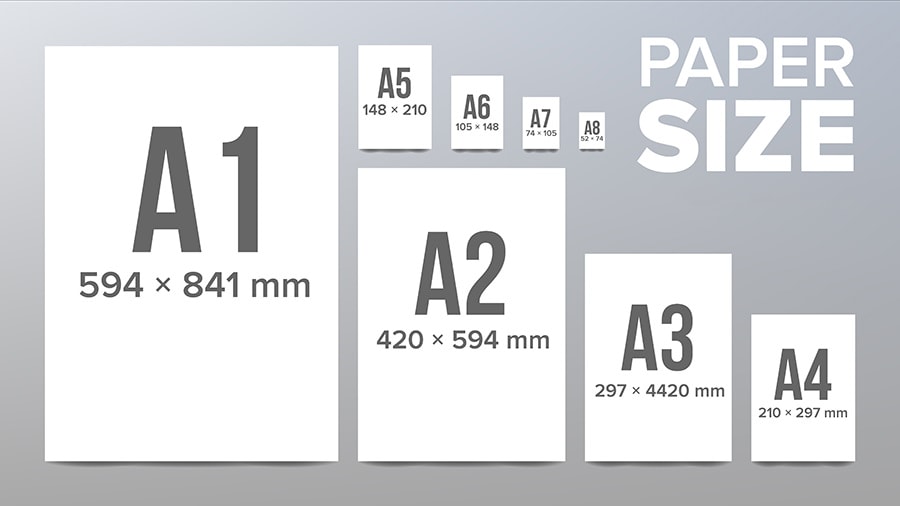
There are two broad teams of photograph
dimensions. You could be accustomed to considered one of them from utilizing inkjet or laser
printers; these sizes are known as A0, A1, A4, and so on, and are a part of a
system supplied by the Worldwide Normal Group (ISO).
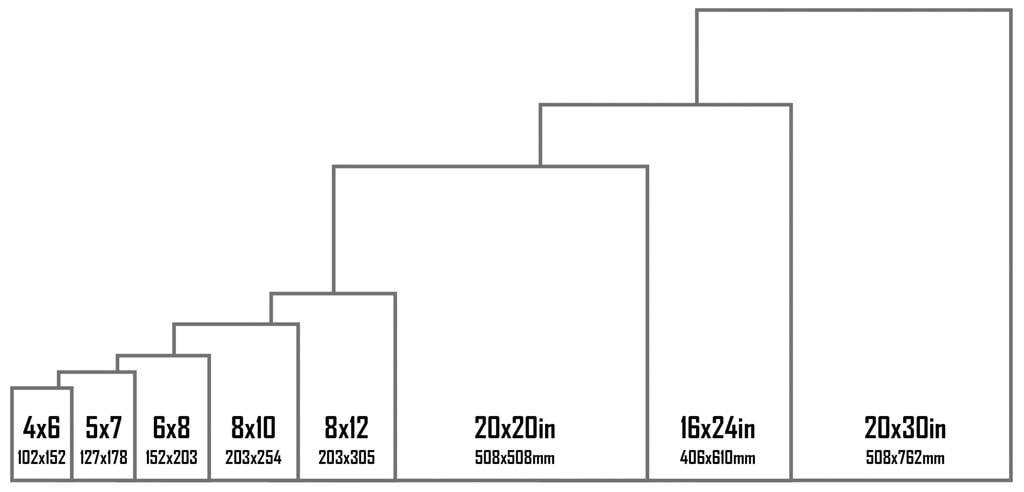
However the second set of dimensions is the one
we’re all in favour of. They’re the widths and heights utilized by photograph labs fairly
a lot in all places, and so they’re what you get in the event you go to buy prints. These
dimensions embrace:
4×6, 5×7, 8×6, 8×12, 10×13, 10×20, 11×14, 20×20, 16×24, and 20×30.
Origin of Normal Photograph Print
Sizes
So the place do these photograph lab sizes come from?
How did they get to be the one sport on the town with regards to printing?
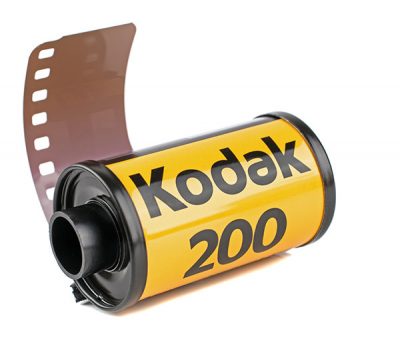
All of it has to do with movie images. Again when movie images was massive, the most typical kind of digital camera used 35mm movie. The negatives produced by 35mm cameras had a 3:2 width to peak ratio, which was later adopted by many digital digital camera firms.
That’s how you find yourself with 20×30 and 4×6 photographs. They mirror the 35mm side ratio. And loads of different side ratios have been developed that match very intently to 4×6, corresponding to 5×7, 8×10, 11×14, and extra.
Normal Photograph Print Sizes and
Side Ratio
I’ve been speaking rather a lot about typical print
sizes and their side ratios. Nevertheless it’s necessary to notice that the side ratio
is just the ratio of width to peak, usually written as 3:2, 4:3, 16:9,
1:1, and so on.
As I discussed earlier than, 3:2 is a typical side ratio for primary printing. However 4:3 is widespread for smartphone cameras, 1:1 is widespread on the net (particularly Instagram), and 16:9 side ratio is widespread in video or for panorama prints.
Normal Photograph Print Sizes and
Digital Images
Hottest digital cameras use sensors with
a 3×2 side ratio and produce 3×2 pictures. So in the event you’re trying to print or
submit your photographs utilizing a unique side ratio, you’ll have to do a little bit of
cropping earlier than you export them.
Happily, there are many picture enhancing
applications, corresponding to Adobe Lightroom and Adobe Photoshop, which is able to let you
crop particularly to numerous widespread side ratios.
Then again, it may generally be
irritating to modify between varied side ratios when interested by
composition. You don’t wish to compose in 3:2, solely to determine later that you just’d
like an 8×10 print of the picture–since you’ll be compelled to crop the shot into
a 5×4 side ratio, which is able to reduce off the sides of your composition.

One method to take care of that is to intentionally compose photographs which are barely wider than you’d like them to be. That means, you’ll have room to crop off the sides in the event you determine to print at a side ratio apart from 3:2. For extra on utilizing this system within the area, take a look at this text on composing in images: “Studying Composition in Images.”
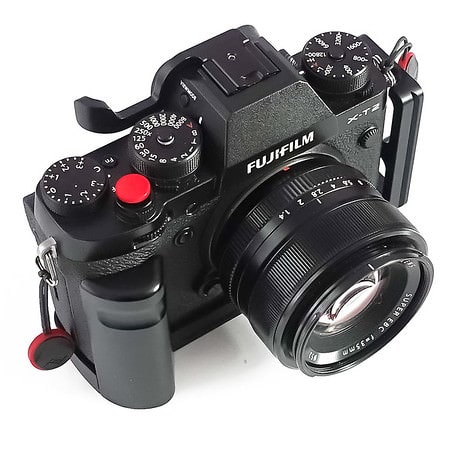
Visualizing the Supposed Side
Ratio in Mirrorless Cameras
Whereas it may be tough to visualise side
ratios whereas within the area, some mirrorless cameras let you specify your
meant side ratio within the digital camera menu. The digital viewfinder will then
shift to the side ratio you’ve dialed in–and if you look by the
viewfinder, you’ll be capable to higher compose a picture.
Sadly, no DSLRs have this functionality,
and a few mirrorless cameras don’t, both. However in the event you do have a digital camera that
permits this, I recommend you employ it. It does an amazing job of protecting your
composition on level whereas out capturing!
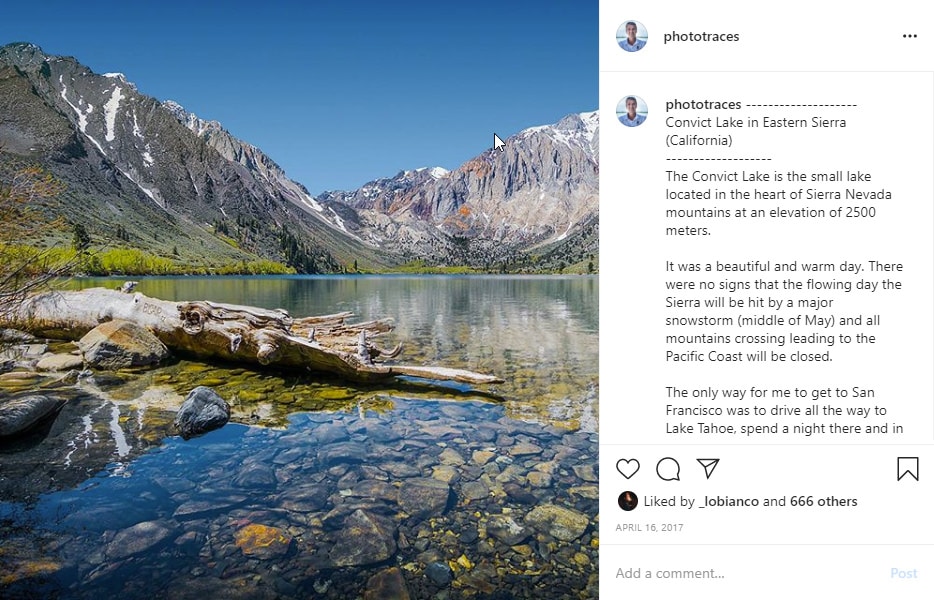
What Is the Finest Picture Measurement for
Instagram?
Whereas printing firms like to make use of normal
print sizes that mirror widespread digital camera sensors, social media doesn’t appear to
have gotten the message!
Should you’re posting photographs on Instagram, you might have three supreme choices.
First, if you wish to submit a sq. photograph, you must crop to someplace between 320×320 pixels and 1080×1080 pixels. Extra pixels is best, so long as you retain it below 1080px on every edge; go previous this, and Instagram will do some compression in your photograph, which won’t look good.
Second, if you wish to submit a portrait photograph
to Instagram, I like to recommend cropping to 1080×1350 pixels. Something taller than
this ratio must be cropped additional. Notice that portrait photographs will give
you essentially the most Instagram actual property!
Third, if you wish to submit a landscape-style
photograph to Instagram, I like to recommend cropping to 1080×608 pixels. You should utilize a
photograph narrower than this side ratio, however you’ll find yourself with a black border on
the highest and backside edges of the display screen.
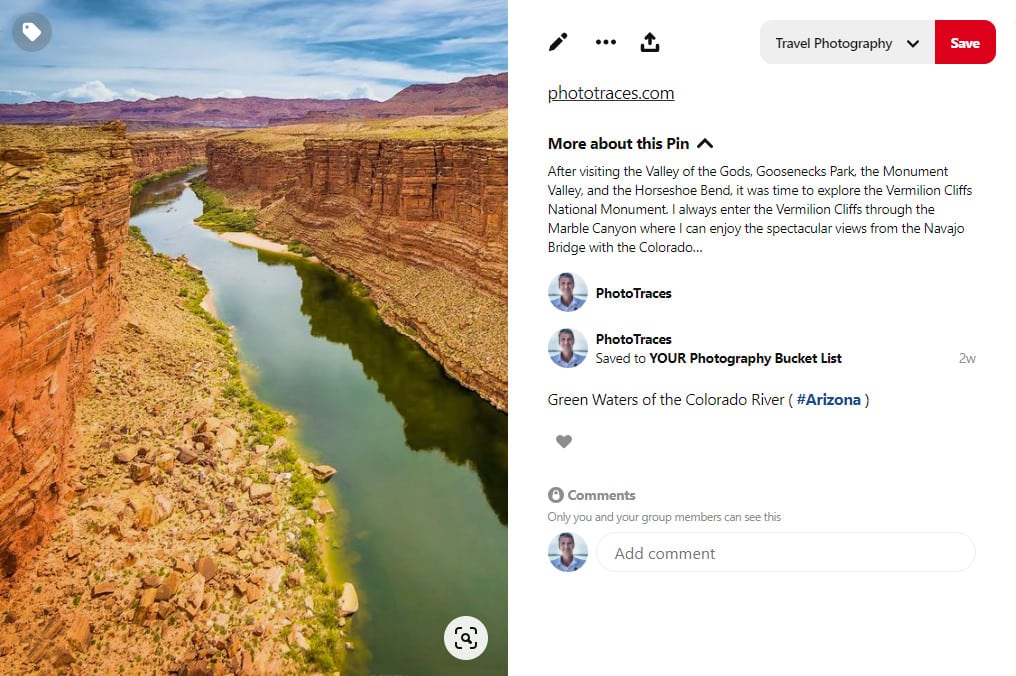
What Is the Finest Picture Measurement for
Pinterest?
Happily, cropping your pictures for
Pinterest is fairly easy.
Pinterest suggests utilizing a 2×3 or 3×4 side ratio each time doable, as a result of this may stop your pins from being reduce off. This implies that you could crop to 600×900 pixels, 100×1500 pixels, and even 2000×3000 pixels.
What Is the Finest Picture Measurement for
Fb?
There are a variety of how to incorporate your
pictures on Fb, all of which include completely different suggestions.
Should you’re cropping to create a canopy photograph, a
good set of dimensions is 1640×720 pixels.
Should you’re cropping to create a profile
image, a great set of dimensions is 172×172 pixels.
And in the event you’re cropping to create a timeline
photograph, it’s a good suggestion to crop to 500 pixels on the horizontal edge. You’ll be able to
do what you want concerning the vertical edge, so long as you retain the
dimensions at 750 pixels or fewer.
Conclusion
It is best to now know all about normal photograph
sizes–and the way to decide on good sizes for printing, composition, and importing to
the net.
Photograph sizes could be complicated, however with this
information in hand, you must have a a lot simpler time navigating these tricking
waters!
Articles Associated to “Normal Photograph Sizes: Making Sense of {Photograph} Print Sizes“