
Do you need to know the greatest evening pictures settings for superb photos? Do you need to seize beautiful images at evening?
You’ve come to the proper place.

On this article, I’m going to inform you
all the pieces it is advisable find out about settings for evening pictures:
What settings to decide on, why it is best to select them, and the way you should utilize the identical settings to persistently seize attractive evening photographs.
As a result of right here’s the factor:
Choosing the proper settings for evening captures is admittedly, very easy. You’re working with a lot of restrictions, and also you’re working with related situations evening after evening.
This implies you can simply determine the optimum settings and use them repeatedly with out worrying about issues resembling altering gentle or monitoring fast-moving topics.
Make sense?
In different phrases:
When you’ve completed this text, you’ll know
precisely what your evening pictures settings needs to be–earlier than you even decide up
your digital camera.
Let’s dive proper in.
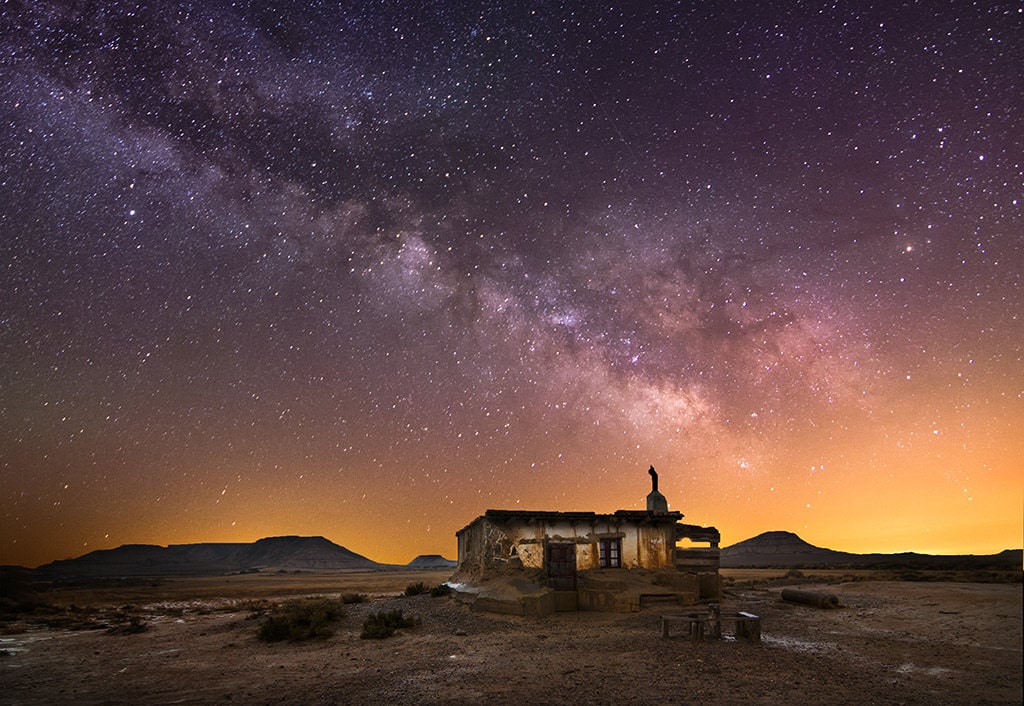
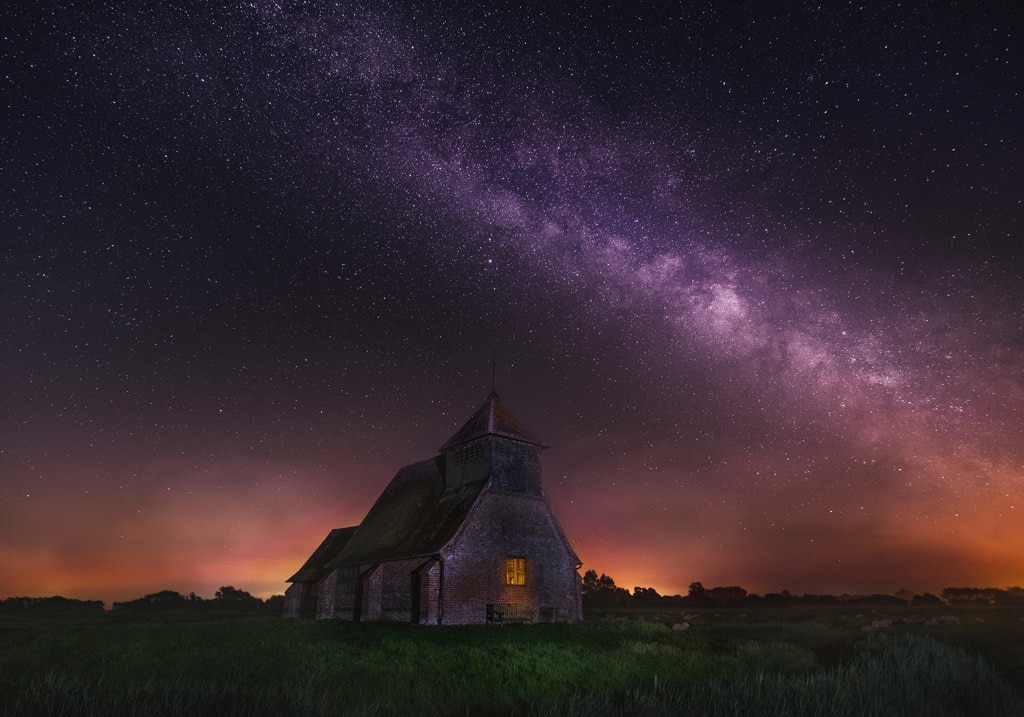
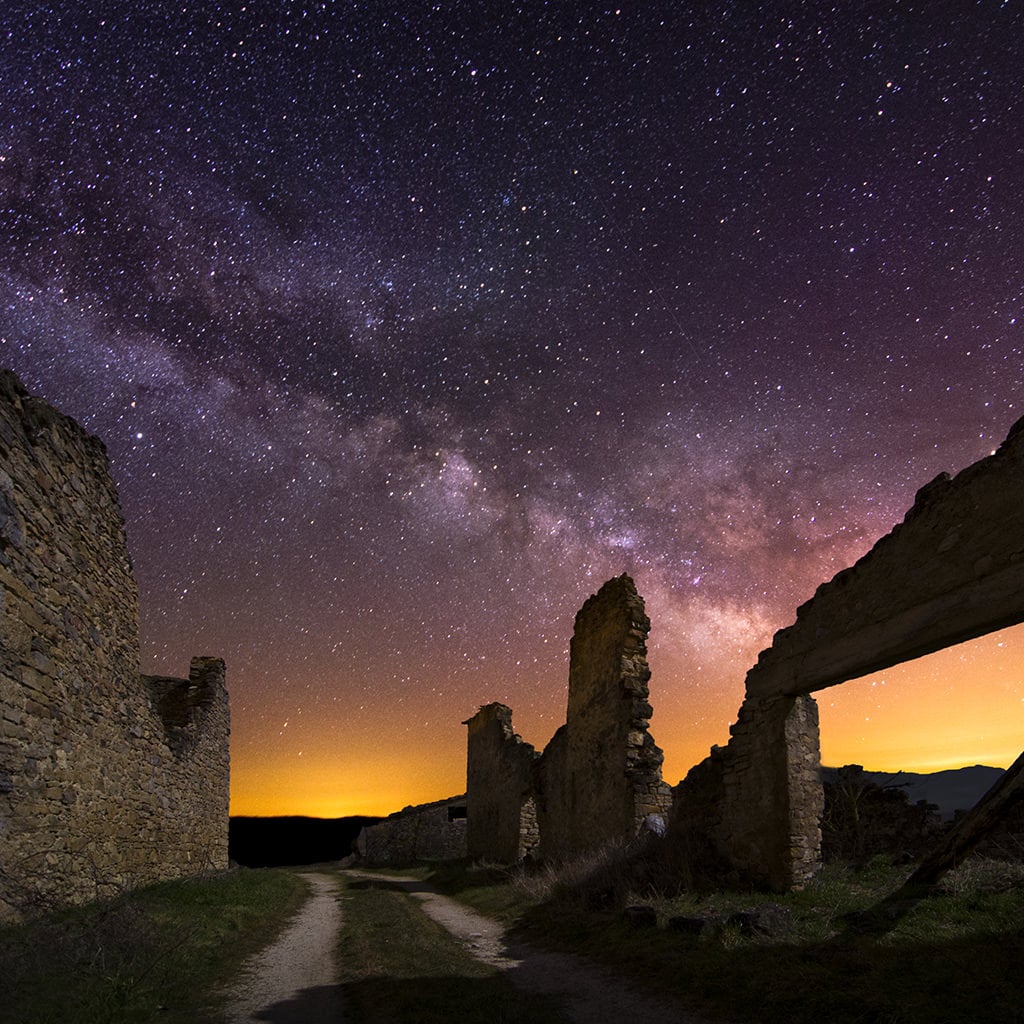
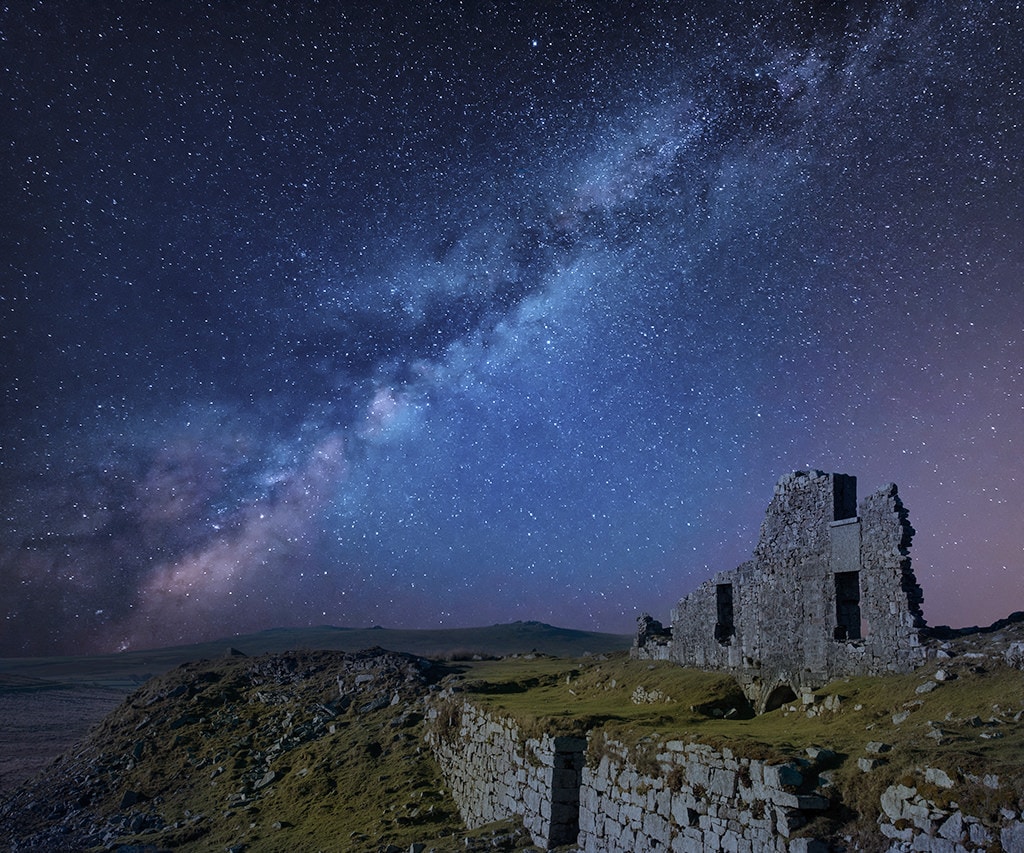
Evening Images Settings
Under are the settings I exploit most frequently when capturing the evening sky:
- Focal Size: 10-20mm vary
- Focus Settings: handbook focus set to infinity
- Aperture: at the very least f/2.8 or quicker
- Shutter Velocity: round 20 to 30 seconds
- ISO: begin with ISO 3200
- Shoot RAW
Now, let’s do a deep dive and canopy every parameter intimately.
1. Focal Size
Whenever you’re capturing skies at evening, you’re
going to wish a large lens.
In any case, the sky is huge, and also you usually need
to incorporate as a lot of it as attainable.
Plus, wider lenses mean you can use longer
shutter speeds with out producing blurry stars.
Subsequently, lenses within the 10mm to 20mm focal
size vary are greatest, with wider typically performing higher.
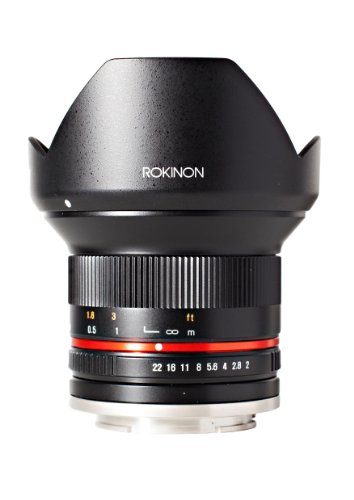
In my case, I’ve a specialty lens devoted to photographing the evening sky – Rokinon 12mm f/2. It’s a compact lens designed explicitly for crop (APS-C) cameras. It has an efficient subject of view on 18mm (12mm x 1.5 crop issue).
2. Focusing Settings
For those who’ve ever tried to make use of your digital camera’s
autofocus at midnight, you’ll know that the AF simply doesn’t work. It’s made for
daytime, not evening.
Which is why it is best to by no means use your
digital camera’s AF system at evening. As an alternative, it is best to change your lens over to
handbook focus, and punctiliously focus to infinity.
Observe that this isn’t at all times as straightforward as
turning the main target ring till it reaches the tip of its rotation. Some lenses
focus past infinity, which implies that pushing your lens to its most distant
point of interest will lead to a gentle picture.
As an alternative, it is best to check out your lenses in daylight and make be aware of the purpose the place your lens reaches infinity.
In my case, I’ve a really simplified focusing routine. Since I’ve just one lens devoted to nighttime pictures, I do know precisely the place infinity is on it. However, to make sure the right shot every time, I made a small everlasting marker on the lens as a reminder.
3. Aperture Settings
Normally, you need to use the widest
aperture your lens permits. An f/2.8 aperture is an effective place to begin, but when
your lens goes to f/2, f/1.8, or wider, then use these settings as an alternative.
Why?
As a result of everytime you shoot skies at evening,
you’re going to wish to maintain your shutter velocity as quick as attainable.
(I’ll clarify why within the subsequent part.)
And with a view to counterbalance the quick shutter velocity and forestall the shot from being too darkish, you have to use a large aperture.
In my case, I wouldn’t have to consider aperture settings. Once I shoot evening sky I at all times use the widest aperture of f/2.
4. Shutter Velocity Settings
Whereas deciding on the proper evening pictures
settings is fairly straightforward, selecting your shutter velocity generally is a bit extra
sophisticated.
It’s because you want a shutter velocity
that’s quick.
Quick sufficient to stop star blur, which is brought on by Earth rotating on its axis. Whereas movement within the stars might be attention-grabbing in very lengthy exposures, it’s not often fascinating to seize a shot with a small quantity of motion.

On the identical time, you need to keep away from utilizing too-fast shutter velocity, as a result of this may both
- a) trigger your shot to turn out to be underexposed, or
- b) drive you to make use of a better ISO and danger producing a loud picture.
Observe additionally that wider lenses are higher ready to deal with blur as a result of the celebrities seem smaller and are made up of fewer pixels on the sensor. Which means any blur is much less noticeable with a 10mm lens in comparison with, say, a 500mm lens.
Therefore photographers invented a approach to
decide the longest evening pictures shutter velocity you will get away with:
The five hundred Rule for the Evening Sky
Right here’s how you establish what really counts
as a superb shutter velocity for evening pictures:
You employ an outdated information, referred to as the 500 Rule, which states that it is best to
take your focal size and divide it out of 500.
This will provide you with your lengthiest shutter
velocity with out star blur, the one which it is best to use to {photograph} the evening
sky.

So should you’re capturing with a 10mm lens, you
can divide 500 by 10 to get 50, or 50 seconds; in different phrases, you should utilize an
publicity of as much as 50s, however no greater, if you wish to forestall blur within the stars.
- To make clear, on a full-frame digital camera, you should utilize the components:
500/Focal Size - On an APS-C digital camera you’ll must account for the crop issue, providing you with a components of
500/(Focal Size x Crop Issue) - And on a Micro 4 Thirds digital camera, you’ll additionally must take the 2x crop issue under consideration, providing you with the components:
500/(Focal Size x 2)
That mentioned, given the high-resolution cameras and lenses out there at this time, the five hundred Rule is a bit too lenient. As an alternative of utilizing the five hundred Rule, I want utilizing the 400 Rule – which shortens the allowable shutter speeds to stop any noticeable blur.
For the 400 Rule, simply change the quantity ‘500’
to ‘400’ within the formulation above, and also you’ll be all set.
In my case, if I exploit the five hundred/(Focal Size x 1.5 (Crop Issue)) components for my 12mm lens, I get the next outcome: 500 / (12 x 1.5)=28 seconds.
However, I want to make use of the components nearer to 400 as an alternative of 500: 400 / (12 x 1.5)=22 seconds.
To summarize, after I shoot evening sky I at all times use aperture worth between 22-24 seconds.
5. ISO Setting
With regards to evening pictures, the one
setting you’ll want to vary on location is the ISO.
Begin by setting your ISO to 3200, then take a
check shot. Based mostly on the outcome, it’s possible you’ll want to boost or decrease your ISO.
At most, it ought to take three photographs to
decide the right publicity, after which you’ll be able to concentrate on capturing.
In my case, I at all times take the first check shot at ISO 3200. Subsequent, as an alternative of adjusting the ISO settings, I exploit publicity compensation. I exploit the entrance dial, which is custom-made on my Fujifilm digital camera to publicity compensation, to fine-tune the ultimate ISO worth.
The Primary Problem of Evening
Images
I’ve talked rather a lot about the perfect settings for evening pictures–and by now it is best to see that it’s fairly straightforward to choose the right aperture, shutter velocity, and even ISO.
However the chief battle of evening pictures
isn’t coping with settings.
It’s discovering a superb composition.
As a result of at evening, it’s nearly inconceivable to see related composition parts resembling main strains, curves, and attention-grabbing shapes.
That’s why I like to recommend scouting in the course of the day
and choosing a superb composition upfront.
I at all times use my cellphone for taking easy snaps when scouting places in the course of the day. It helps me to visualise the longer term evening photographs.
Evening Images Settings: Conclusion
Now that you simply’ve completed this text, you
ought to know all about the perfect settings for evening pictures.
- You understand how to choose the widest attainable focal size (one within the 10-20mm vary).
- You understand how to focus to infinity utilizing handbook focus.
- You understand how to choose the right aperture, which needs to be the widest choice out there to you (at the very least f/2.8).
- You understand how to choose the right shutter velocity, which needs to be the longest shutter velocity you will get away with utilizing the 400 Rule (normally round 20 to 30 seconds).
- And you know the way to decide on the perfect ISO by beginning at ISO 3200 and experimenting with a couple of check photographs.
So now all that’s left…
…is to get out at evening and shoot!