
In right now’s tutorial, I show my enhancing workflow for cleansing panorama pictures utilizing the Lightroom Spot Elimination software
Once I return from a pictures journey, I import all the brand new photographs to my grasp catalog in Lightroom and start my enhancing workflow with the culling course of. First, I’m going via all my new photographs within the catalog and choose those I’m able to delete—these which are out of focus, unintentional, or have dangerous composition.

After I weed out all of the dangerous photographs, I’m going via the remainder of the photographs as soon as extra with the intention of choosing solely the great ones, the photographs price enhancing. You’ll find an in depth define of this course of in my Lightroom Group tutorial.
After I end the culling course of and earlier than I begin with Lightroom Fast Enhancing, I all the time carry out one essential step—I examine to see if any of the photographs want cleansing.
When taking pictures landscapes and particularly seascapes, we, as photographers, are uncovered to a wide range of climate circumstances and, generally, to even excessive circumstances. The final rule of panorama pictures is that dangerous climate equals extra picture alternatives. It additionally implies that the chance of environmental particles ruining our photographs is way greater.
Two of any photographer’s greatest enemies are mud and dust that usually accumulate on the entrance component of the lens. Raindrops, water, mud, snow, and sand may also forestall us from taking clear photographs.

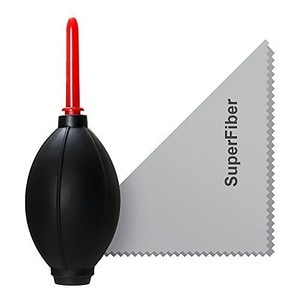
In each digicam bag, I’ve a number of items of lens material and lens wipes so I can clear my lenses all through the day as obligatory. I’ve even gotten into the behavior of all the time glancing on the entrance of the lens earlier than taking a shot to verify it doesn’t want cleansing.

The second situation photographers face is the mud that accumulates on the floor of the sensor once we change the lens. To verify the sensor of my digicam is clear, I exploit an air blower to wash the sensor each night after a shoot.
However, even after I carry out all my cleansing routines all through the day, it isn’t unusual for me to nonetheless have environmental particles that get in the best way throughout my journeys.
Fortunately, Lightroom has a software designed particularly to handle this situation.
It’s known as the Lightroom Spot Elimination software.
For me, it’s all the time a two-step course of. First, I exploit the Lightroom Spot Elimination software to examine if the picture wants any cleansing. If the picture is clear, I transfer into Lightroom Fast Enhancing however, if the picture isn’t, I exploit the Spot Elimination software to wash up the picture.
Right here is the define of my cleansing workflow.
Lightroom Spot Elimination Instrument: Case Examine
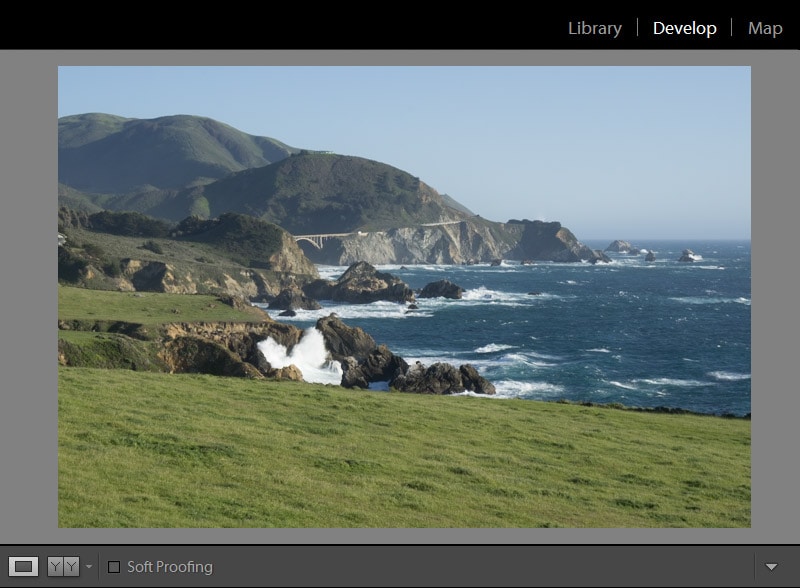
For right now’s demonstration, I chosen the picture I took throughout my Large Sur coastal drive in California.

After I went via eh culling course of and chosen the featured picture for enhancing, I jumped to DEVELOP module of Lightroom and chosen the Spot Elimination Instrument.
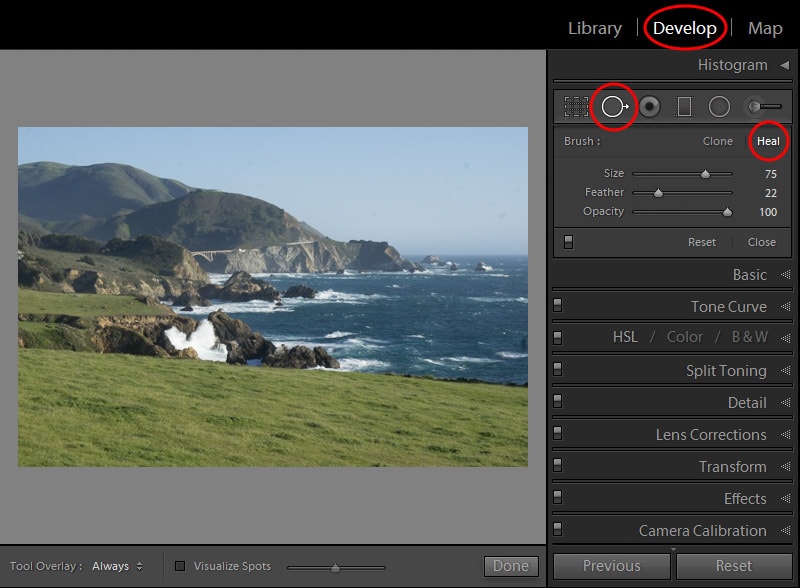
For the enhancing mode, I chosen HEAL possibility. You possibly can experiment with the CLONE possibility as properly however for me, the HEAL works in 99% of instances.
The Clone possibility duplicates the sampled space of the picture to the chosen space.
The Heal possibility matches the feel, lighting, and shading of the sampled space to the chosen space.
From Adobe web site
I stored the Feather possibility at 22% and Opacity at 100%.
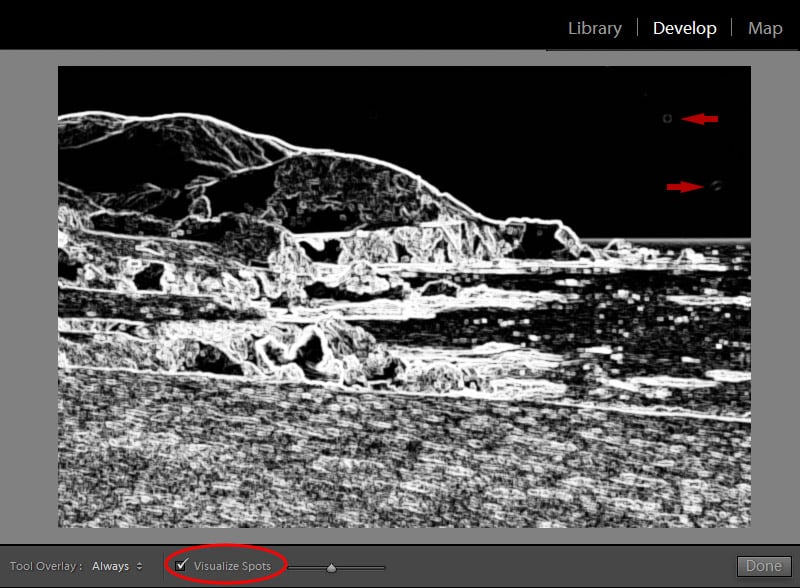
Subsequent, I chosen Visualize Spots checkbox.
The picture went into Greyscale Inverted mode. The mode helps us to visualise distractions and imperfections.
At that time, I might solely see two small spots.
The issue with the imperfections brought on by dust on lenses and sensors is they turn into extra distinguished while you begin making use of distinction and coloration correction settings to the picture.
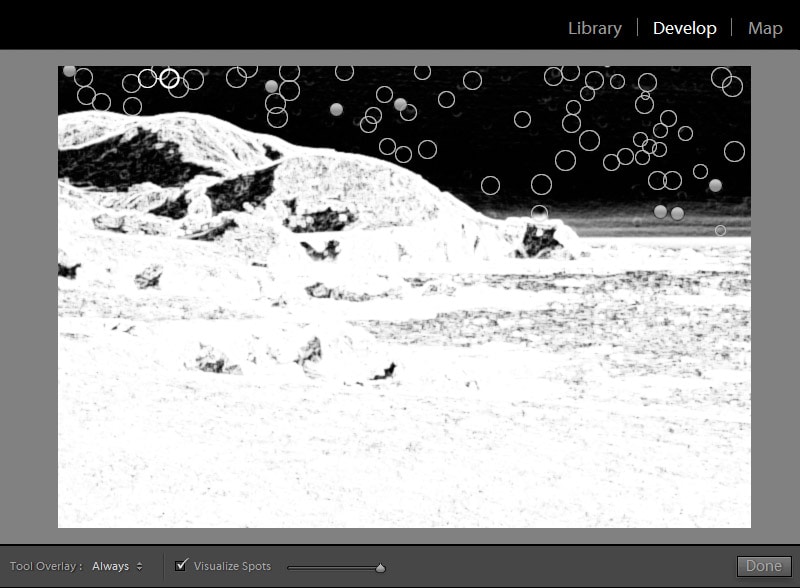
To assist us to emulate the impact of enhancing on picture imperfections the Visualize Spots has the Distinction slider.
I cranked up the Distinction by transferring the slider all the best way to the fitting.
Now the impact brought on by soiled lens was apparent.

I chosen the acute case for this demonstration.
(If Toolbar is hidden, press keyboard shortcut “T” to make it seen).
Earlier than taking the featured shot I spent a few hours within the coastal space of Garrapata State Park. It was windy and the massive waves of the ocean generated seawater droplets on my lens.
Once I completed I merely forgot to wash the lens.
The impact of dry saltwater droplets on the entrance component of my lens was excessive. The picture was just about ruined by it, however it made a wide selection for this case research.
Subsequent, I used the keyboard shortcuts “[” and “]” to set the fitting dimension for the Lightroom Spot Elimination Instrument and I began merely stamping the distracting spots with the software.
Once I completed this was the outcome.
I unchecked Visualize Spots checkbox and I used to be carried out with the cleansing.
That is the ultimate outcome after I processed the featured picture utilizing the Lightroom Fast Enhancing workflow.
As you may see the realm of the sky could be very clear and you can’t discover any results of the soiled lens.

Lightroom Spot Elimination Instrument: Conclusion
It’s paramount to maintain the lens and the sensor clear always to realize the cleanest and sharpest pictures. However in instances when it isn’t potential to realize on the time of taking photographs, we all the time can use the Lightroom Spot Elimination Instrument in the course of the enhancing to wash pictures digitally.